Monday, July 22, 2013

Lights! Action! Camera! Disney Hollywood Studios.

Today I have another Disney layout that I finally got around to finishing.

This is the second page to a Disney layout I posted earlier this year which you can find HERE
This was a fun layout to do, and I had so many great pictures from that day that it was really hard to pick just which ones to use.

My cool looking Micky was cut with my Cameo from a SVG from a blog that is no longer up and running, I was so sad to see it close because she had so many wonderful Disney SVG and they were all free.

I used Disney and Friends Font cartridge for my title and the camera was cut from Locker Talk( I think) I will have to double check this one.
I love the way I was able to add 4 photos to this layout.
Finishing touches were glitter pen, button brads and some faux stiching.
Here is a shot of the two ayouts side by side.
I will be entering this layout into the following challenges
My Craft Spot: Sew Fun!
Silhouette Challengs: Faux Stitching.
Hope you enjoyed today's post, I love working on my Disney albums it brings back so many wonderful magical moments and makes me feel young at heart!

Saturday, July 20, 2013

Space Shuttle Atlantis! Blast Off!

May 2009 my Hubby and I packed out suitcases and went on another great vacation to Florida.
One of the top things to do on our wish list was to see the Space Shuttle Atlantis with it seven man crew launch off on May 11th. By the time we got to Florida there were no tickets left but we found a wonderful space to watch the launch and join in the fun.
It was such a beautiful warm day and we met so many friendly people more then willing to share there excitement of the day.
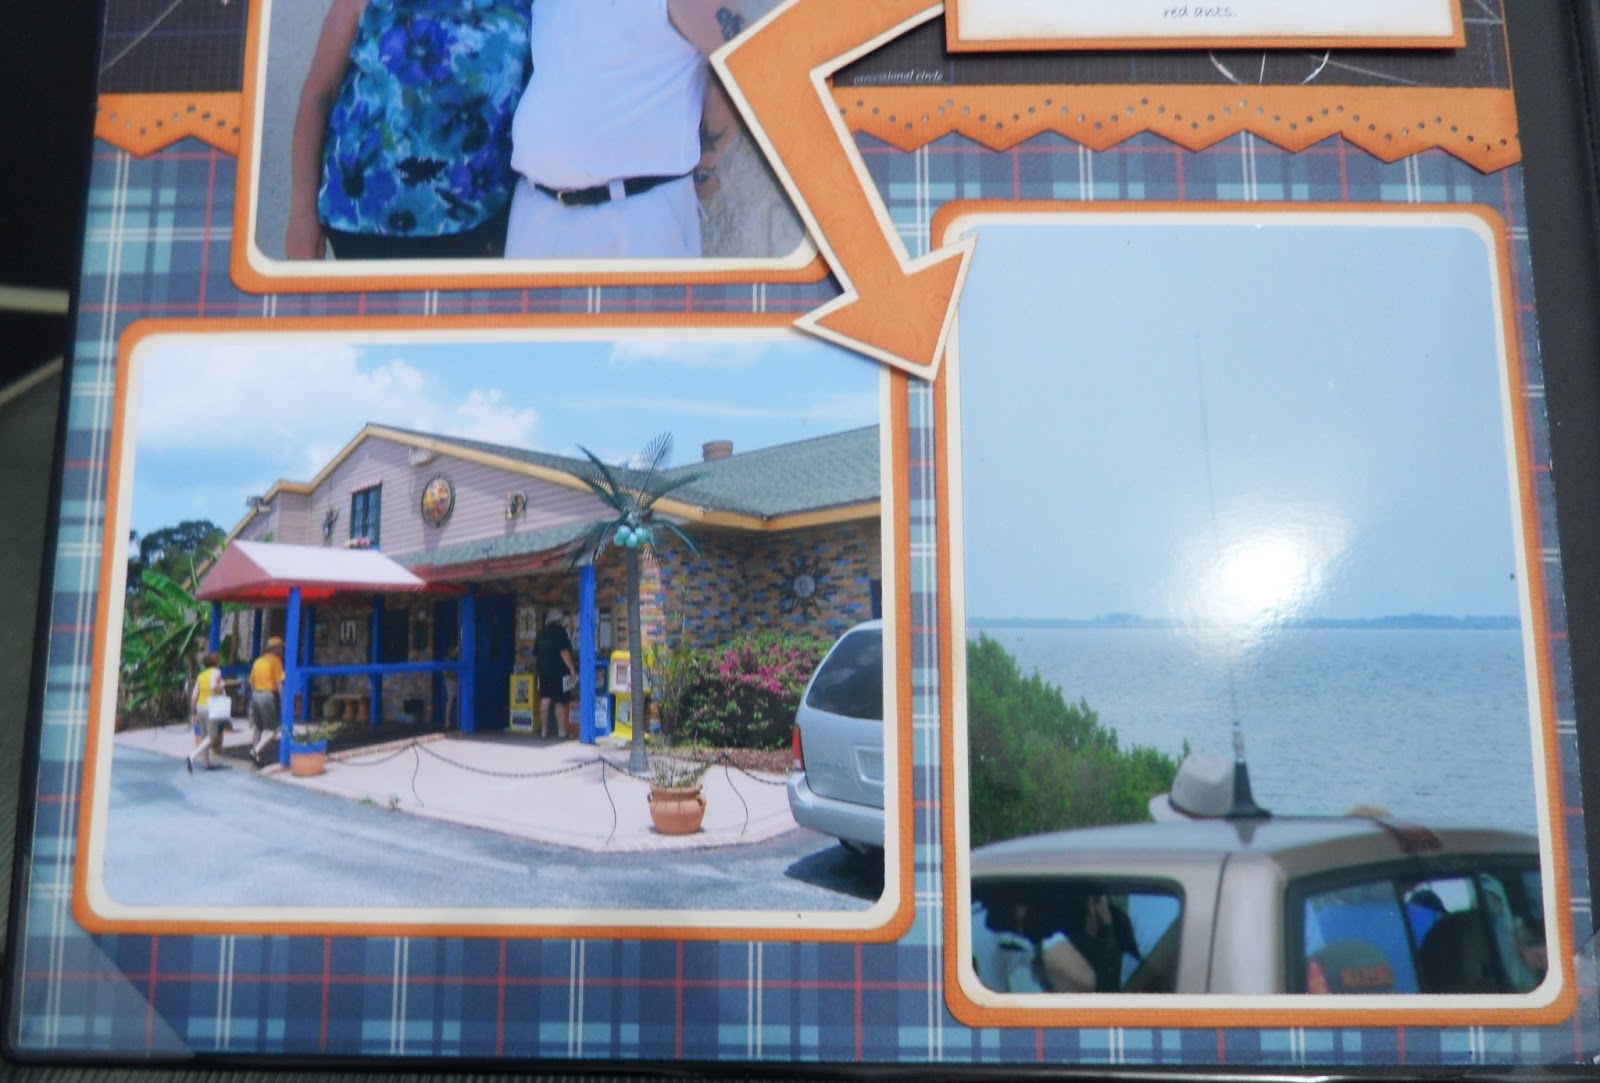
This is the restaurant we had lunch at across the Indian River.
 Here we met up with some locals that were able to fill us in on the town of Titusville, Florida and how much they enjoyed watching the many space launches over the years.
This page just tells a bit about the El Leoncito and the town.

For the letters I used Cricuts Mickey and Friends Font Cartridge. The arrows were from Boys will be Boys Cartridge.
The paper is called Rocket Age Blast Off by October Afternoon.
Borders punch by Martha Stewart.
Cuttlebug embossing folder "Spots and Dots"
and here they are together side by side.
I will be entering these layout in the following changes:
D.L Art July Linky Party: anything goes
Craftin Desert Diva : summer, vacation or water
My Sherri Crafts: Lets take a trip
Thanks for stopping by and have a great weekend!

Friday, July 19, 2013

Yummy Ice Cream Birthday!

Hello to all my crafty friends! 
It seams like forever since I last posted anything and I must say it is pretty sad when even your family starts to ask what the heck is up?
To tell you the truth it has been pretty hot and muggy around here and I just have not felt like doing anything!

Then I came across these fun challenges over at Bitten By the Bug2 and Die Cuttin Diva's so I decided to join in the fun and help Celebrate National Ice Cream month.
For this challenge I decided on a very
clean and simple Birthday card using scraps from my stash, which means I can also enter this weeks challenge over at Hiding in My Craft Room #106

Ice Cream, Ice Cream, we all ask for ice cream!
(at least in my house we do!)
I used Joys Life Yummy Pun for the sentiment and found some cool Birthday ribbon to match by sashes.

The ice cream border was cut from Cricuts Doodlecharm Cartridge by using my gypsy and welding two sets of the ice cream borders together so it would fit across the card. I then cut out the ice cream charm and placed it on a action wobble for a little extra fun.
Now after making this wonderful yummy card, it time to say goodbye and run upstairs and grab a bowl of Ice Cream!
As always thanks for stopping by and have a great weekend!

Thursday, July 4, 2013

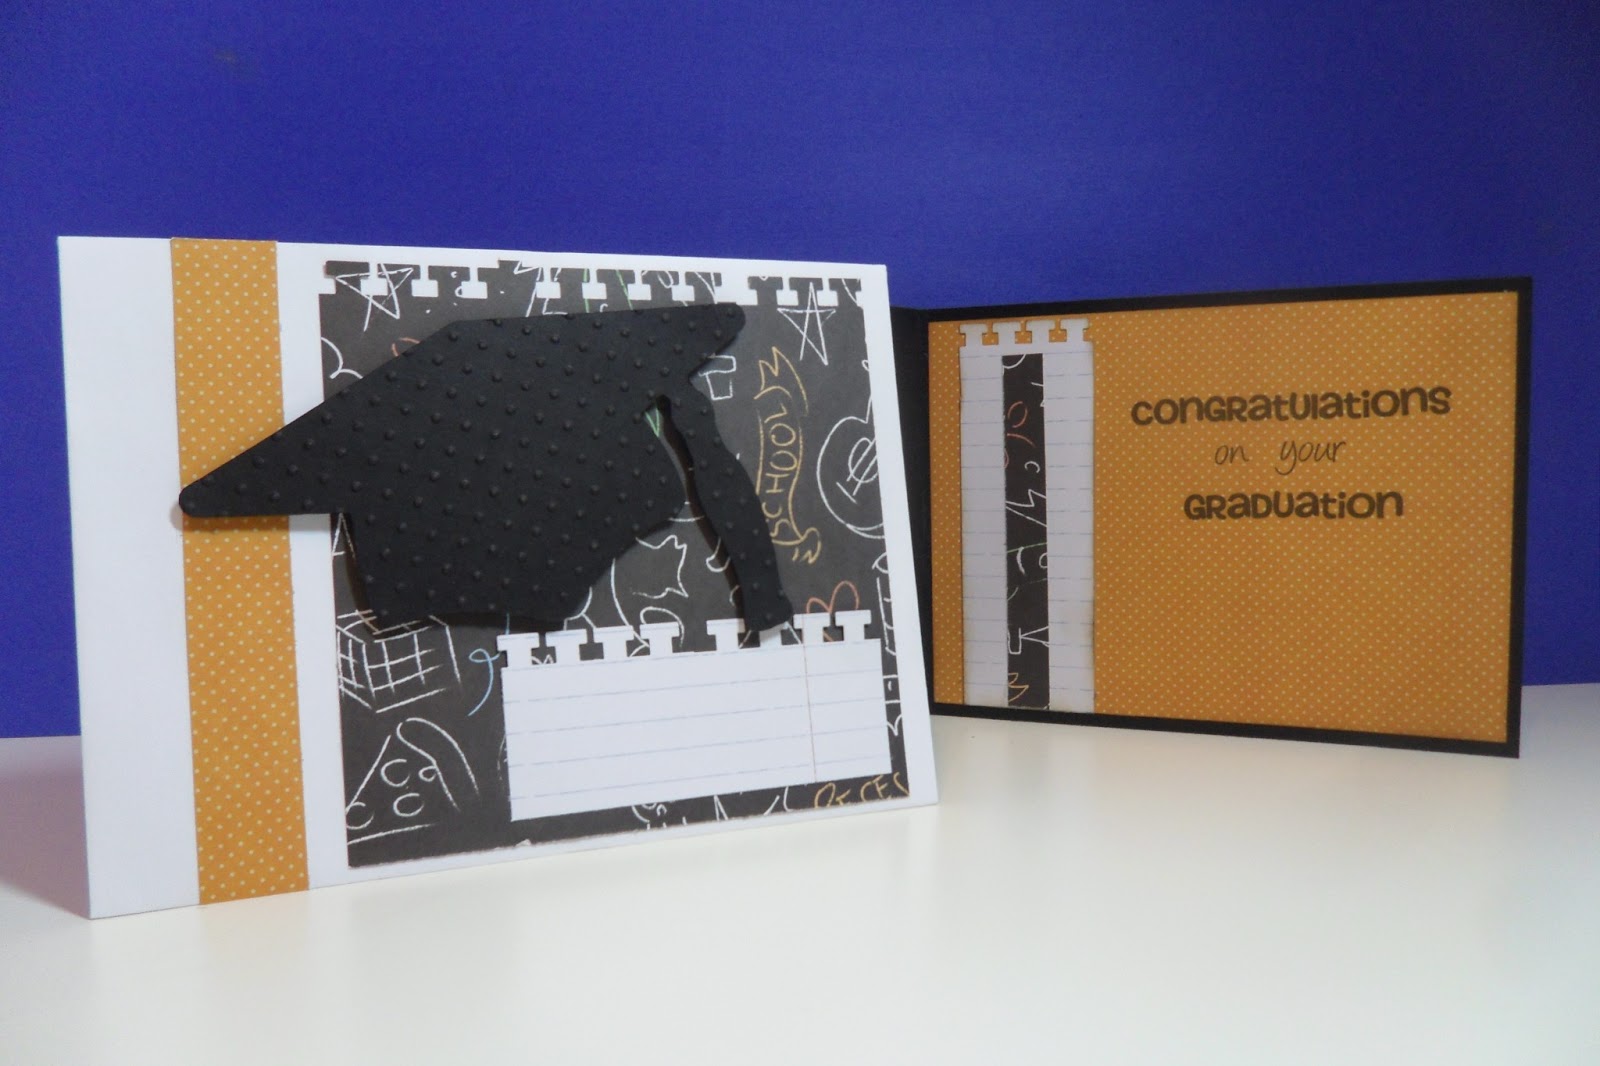
Congratulation! You Did It!

Last Thursday was a very special day for both me and my Grandson.
A  day I have waited for a very long time to see come true.
 With a lot of very  hard work, I am proud to say my Grandson Jaime graduated from High School!
Way to go Jaime!
YOU DID IT!
My daughter didn't tell me about Jaime's Grad until the night before, so I quickly ran down stairs and put this card together and asked Hubby if he had any cash on him. Nothing like leaving things to the last minute. LOL!
Here he is giving out a gift to one of the teachers.
I used Joys Life Everyday Occasions stamp set for the inside of the card.
I then decided I had still enough time to decorate the envelope. Jamie was very shocked but  happy to see me at the ceremony and he loved his card.
Thanks for stopping by my blog, have a great week.
Challenges entered:
DL Art July Linky Party.
Hiding in my Craft Room: Anything goes
Love to Scrap: Anything goes.
Through the Craft Room Door: Anything Goes

Monday, June 24, 2013

On the Farm


I am posting today as a guest designer for Craft It Up & Link It Up Linky Party hosted by Tara of Craftin Desert Divas! Every other Monday will mark the beginning of a new semi-weekly linky party and you could win fabulous prizes!!

This weeks linky party theme is On the Farm. 
The sponsors this week are Bug Bites  
and Pinque Peacock

the more you link up, the better chance you have to win.  Visit Craftin Desert Divas for all the rules and to play along.
Here is what I created for this linky party....
 I decide to make a simple 5X5 card with this cute chicken I found at the silhouette store. I then popped him up on a action wobble for a little more fun and added a little stickles and googly eyes.


This is a shot of the inside of the card, I am sure it will put a smile on someones face when they open it up.

Hope you will Craft It Up & Link It Up!!!

Wednesday, June 19, 2013

Love, Cherish, Adore! My Daughters Family!

Last week I was so excited to be able to take a Kaisercraft Photo Display Frame Class by Kelly Klapstein.
Not only is Kelly another blogger but she writes and Designs for Canadian Scrapbooker Magazine. So yes it was a real honor to meet her in person and get to know her.
 We learned a few new techniques, through out the evening and by the end of the night I was covered in black and white paint.
The frame itself was supposed to be done using a dry brush technique with black acrylic paint or a black soot Distress dabber. For my frame I decided to go with a solid black.
The wood letters were painted with white paint and before they dry we were to wipe them clean, let dry, then swipe a black ink pad over the letter.. Now you want to talk about a big mess. I tried out a new white dabber and when I went to dab my letters I noticed the lid had come off, there was so much white paint on everything it wasn't funny. But I did manage to fix up my first mistake. LOL!
We also made a clock for the top embellishment but I decided to go with one I had at home already.
The heart was cut from corrugated cardboard then inked with black pigment ink and emboss with black embossing powder, we then added beads and wire.
The bottom was supposed to be flowers and vines but since my pictures were taken in the fall I decided to go with leaves and acorns.
I hope you enjoyed my project for today, have a great week and stay safe!
Challenges entered:

Tuesday, June 11, 2013

Together for Ever! My Craft Spot Wedding Challenge.

Hello all my Crafty Friends and Family!
I hope this post finds you all well. It has been raining here for about a week and I can not wait for the sun to shine once again. I find it so hard to do anything when the weather is like this.
So today I have decided to play along with My Craft Spot Wedding Challenge.
(sorry for the pictures I will retake them once the sun decides to reappear)
This is another cascading card I decided to make but this time using butterflies.
I think this is the third wedding card I have made for my Nephews upcoming wedding in January.
I know you are probably thinking why three???
Not only is Jon my Nephew but he is my Godson so I need it to be extra special.
The main butterflies for the card were cut in different sizes from Cricuts Picturesque cartridge. The smaller vines and butterflies were from the online Silhouette store.
For the front of the card I used Spellbinders Nestabilities Label Nine and
My Pink Stamper Love-alicious stamps for the sentiment.
I then used a Martha Stewart Punch for the wedding cake which I was lucky enough to win as blog candy ( I knew I would use it some day LOL), now it was time to add a few pearls and two Doves from Cricuts Formal Occasion Cartridge for the final touches.
I will be entering this card into the following challenges:
DL. Art June Linky Party.